 Utilize student groups for differentiated learning between your classes as well as individualize instruction for students by:
- class period
- for remediation, intervention, or enrichment groups
- after school groups
- ESL students
The first step is to create groups in your Legends of Learning account. You can import your groups from Google Classroom (or another rostering integration) as well as create your own smaller groups as needed. Here is more information on how to create groups in your Legends of Learning account.
After creating groups, you’ll want to tag students to the appropriate group(s). You can add students to groups individually, or select multiple students to add to a group at once. Need help adding students to groups? Check out this article with more information.
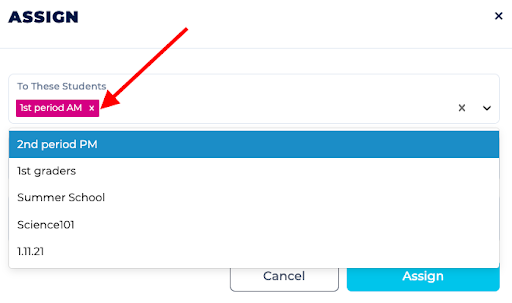
Once your groups are set up with students, it’s time to assign your first assignment! After creating an assignment, you’ll have the option to select the group(s) that you want to see this assignment. You can select multiple groups to see the same assignment, or assign differentiated work to individual groups.

Wondering what to do if a student cannot access an assignment that you’ve assigned to a specific group? Your first step is to check that the username the student is signing in with is tagged to the group assigned. If not, you’ll need to add that student to the group in order for them to access the assignment. For more information, check out this article.


